How to Install ChromeOS Flex on an Old Laptop Safely
The safest way to install ChromeOS Flex on an old laptop is to create Google’s official USB installer, boot the laptop from it, and use “Try it first” before erasing the internal drive. Test Wi-Fi, audio, the webcam, keyboard, trackpad, sleep, and external displays. Only choose the permanent installation after you have backed up every local file and confirmed the hardware works.
ChromeOS Flex can give a compatible Intel or AMD laptop a clean, web-focused operating system with automatic updates. It is a good fit for browsing, documents, video calls, and cloud apps. It is not a full Chromebook conversion, however: hardware support varies, Google Play and ordinary Android apps are not generally available, and installation wipes the existing operating system and local data.
Before you start: decide whether ChromeOS Flex fits your laptop
First, find the laptop’s exact model number—not just the product family—and check Google’s ChromeOS Flex certified models list. Google tests certified models and publishes their support dates, known limitations, and installation notes. An unlisted laptop may still boot, but Google does not guarantee its stability or hardware compatibility.
Google’s baseline requirements include a 64-bit Intel or AMD processor, at least 4 GB of RAM, at least 16 GB of internal storage, the ability to boot from USB, and full access to BIOS or UEFI settings. ARM-based Windows laptops are not supported. Very old processors and graphics hardware can also fail even when the headline specifications appear adequate.
If the laptop merely feels slow or has a nearly full Windows drive, wiping it may be unnecessary. Start with our guide to freeing storage on Windows 11 without deleting personal files, and read our Microsoft PC Manager review before replacing Windows.
What you need
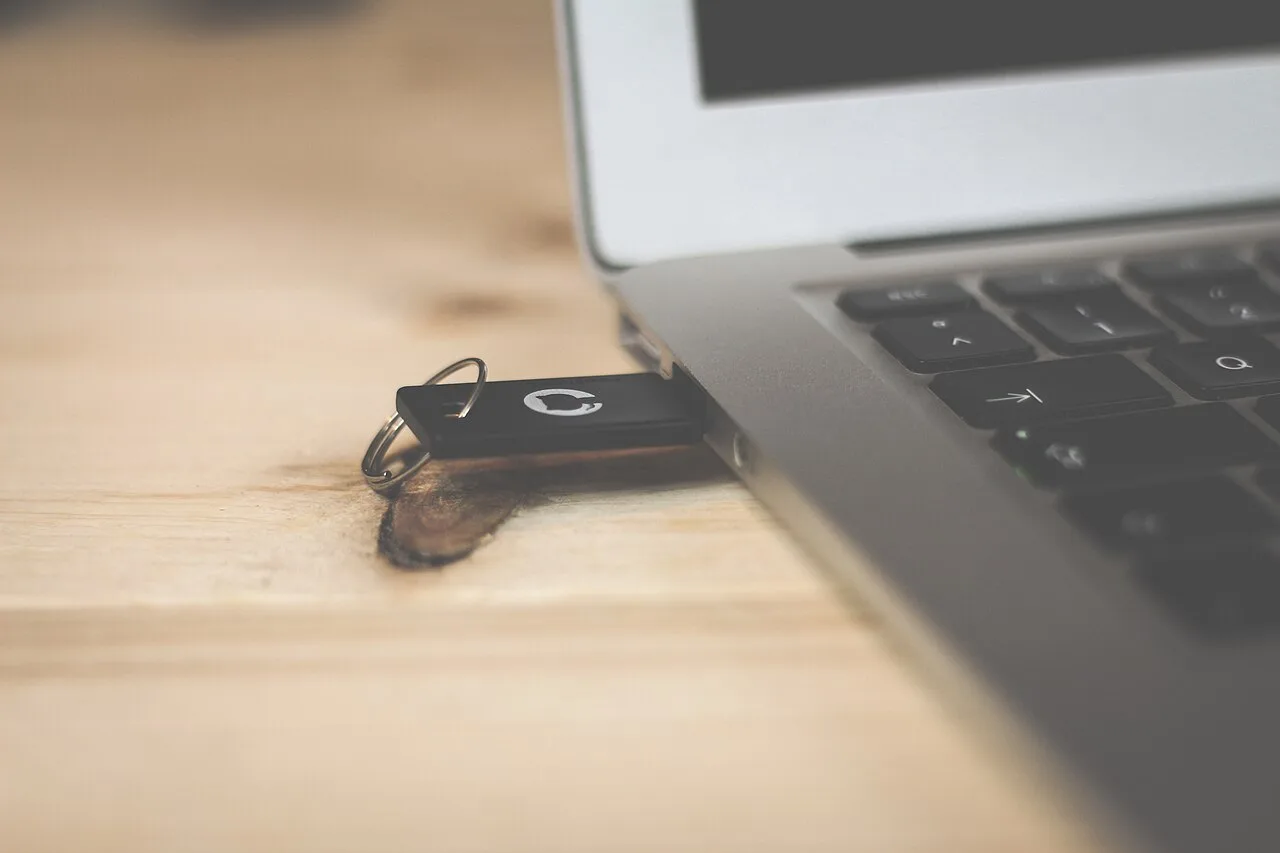
- A USB flash drive with at least 8 GB of capacity. Its contents will be erased.
- A second working Windows, Mac, or ChromeOS computer with the Chrome browser.
- The old laptop connected to power.
- A reliable internet connection.
- An external backup drive or verified cloud backup for the old laptop’s files.
- The laptop manufacturer’s instructions for opening its boot menu or UEFI settings.
Back up the laptop before touching the installer
A permanent ChromeOS Flex installation erases the internal drive, including Windows or macOS, installed programs, recovery partitions, accounts, and personal files. Copy documents, photos, downloads, browser exports, password-vault backups, license keys, and any app-specific data you need.
Do not treat a completed copy operation as proof of a good backup. Open a representative selection of files from the external drive or cloud account. Confirm that synced folders have finished uploading and that you can sign in to the services you will need after installation.
If you may return to Windows, create the manufacturer’s recovery media or obtain Microsoft installation media before wiping the disk. ChromeOS Flex does not preserve the factory recovery environment.
Step 1: Create the official ChromeOS Flex USB installer
Use Google’s official USB installer procedure. Avoid unofficial images and third-party download sites.
- Open Chrome on the working computer.
- Install and open the Chromebook Recovery Utility extension.
- Select Get started, then choose Select a model from a list.
- For the manufacturer, select Google ChromeOS Flex.
- For the product, select ChromeOS Flex.
- Insert the USB drive, select the correct drive carefully, and choose Create now.
- Wait until the utility says the recovery media is ready, then eject the USB drive safely.
The creation process formats the USB drive. Disconnect other removable drives first so you cannot select the wrong one by accident.
Step 2: Boot the old laptop from USB
Shut the target laptop down completely, insert the new installer, and turn it on while repeatedly pressing its one-time boot-menu key. Common keys include F12 on many Dell and Lenovo systems, F9 on many HP systems, and Option on Intel-based Macs, but the exact key varies by model.
Select the entry that identifies the USB drive. If both legacy and UEFI entries appear, choose the UEFI version unless the certified-model notes say otherwise.
If the USB drive does not appear, enter BIOS or UEFI and enable USB boot. Google recommends UEFI and Secure Boot where the model supports them; disable Secure Boot only when the certified-model notes or a specific installation problem requires it. Do not change unrelated firmware settings.
Step 3: Try ChromeOS Flex before installing it
Choose the option to try ChromeOS Flex from the USB drive rather than installing it immediately. This live session is slower than a permanent installation, but it is the most important safety check in the process.
Connect to Wi-Fi and test all hardware you expect to use:
- Trackpad, left and right click, keyboard, and function keys
- Wi-Fi and Bluetooth
- Speakers, headphone jack, and microphone
- Webcam in a browser-based video-call test
- Screen brightness and keyboard brightness, if present
- Sleep, wake, lid close, and battery reporting
- USB ports, SD card reader, and external display output
Restart once and repeat the most important tests. A component that fails in the live session is unlikely to become reliable merely because you install the system. Check the exact model’s certification notes before accepting any limitation.
Know the differences from a Chromebook
ChromeOS Flex and factory Chromebooks share a familiar interface, browser-based workflow, cloud integration, and automatic updates, but they are not identical. Google’s official comparison notes differences in hardware-backed security, firmware updates, supported ports, keyboard behavior, and app compatibility.
In particular, do not assume the Google Play Store or ordinary Android apps will be available. Linux development support also varies by model. Fingerprint readers, optical drives, proprietary docks, infrared cameras, active styluses, and some Thunderbolt features may not work as expected.
Step 4: Install ChromeOS Flex permanently
Proceed only after the backup is verified and the live test passes.
- Keep the laptop connected to AC power.
- From the ChromeOS Flex welcome flow, choose the permanent installation option.
- Read the erase warning carefully and confirm only when you are certain the correct computer is being wiped.
- Let the installer finish without closing the lid, removing power, or pulling the USB drive early.
- When prompted, shut down or restart, remove the USB installer, and boot from the internal drive.
- Connect to the internet, sign in with your Google account, and complete the privacy and synchronization choices.
After the first sign-in, open Settings → About ChromeOS and check for updates. Restart if requested. Automatic updates are a major reason to use ChromeOS Flex; our coverage of a recent ChromeOS LTS security update shows why keeping the system current matters.
What to do if installation fails
The laptop will not boot from the USB drive
Confirm USB boot is enabled, try a different USB port, and recreate the installer. Google notes that some flash-drive models occasionally fail as installers, so testing a drive from another manufacturer can help. Also test the installer on a second computer to distinguish a bad USB image from a laptop-specific problem.
You see a blank screen or blinking cursor
Check the certified models list and its installation notes. A blank screen can indicate unsupported graphics hardware or a corrupted USB installer. Recreate the drive before making extensive firmware changes.
The installer cannot find a valid destination
ChromeOS Flex needs a working internal drive larger than approximately 16 GB. Google’s installation troubleshooting guide also explains that systems configured for RAID storage may need to be switched to AHCI. Changing that setting can prevent the old Windows installation from booting, so make the change only after the backup is complete and you have committed to replacing Windows.
Wi-Fi, audio, or the trackpad does not work
Return to the exact model’s certification page. ChromeOS Flex does not provide the same vendor-driver installation process as Windows. If an essential component failed during the live test, the practical choices are usually an external compatible adapter, a different operating system, or keeping the current one.
Secure the laptop after installation
For a personal laptop, enable two-step verification on the Google account and review synchronization settings. For a shared or managed device, use a separate account for each person and follow your organization’s enrollment policies.
Google recommends enabling UEFI and Secure Boot when supported. After installation, consider disabling external-media boot and setting a BIOS or UEFI administrator password so another operating system cannot be started without authorization. Record that firmware password securely; losing it can make future maintenance difficult. See Google’s ChromeOS Flex deployment security guidance for the underlying recommendations.
Should you install ChromeOS Flex on an old laptop?
Install it when the laptop is on Google’s certified list, its essential hardware passes the USB live test, and your work is mostly browser- or cloud-based. It is especially sensible for a secondary computer used for email, documents, web apps, streaming, and video calls.
Keep Windows, macOS, or consider a lightweight Linux distribution when you need desktop-only applications, ordinary Android apps, specialized hardware, gaming, or full control over local software. ChromeOS Flex can make an old laptop useful again, but the right decision depends less on raw speed than on hardware compatibility and the apps you actually need.
Quick installation checklist
- Check the exact model on Google’s certified list.
- Verify the minimum hardware requirements.
- Back up and open-test important files.
- Create the USB only with Google’s official tool.
- Boot the UEFI USB entry.
- Use “Try it first” and test every essential component.
- Install only after accepting that the internal drive will be erased.
- Update ChromeOS Flex and secure the Google account.
- Restrict external boot after installation if appropriate.
Featured image: Brina Blum, released under CC0 via Wikimedia Commons.