How to Transfer Google Authenticator to a New Phone Without Losing Codes
You can transfer Google Authenticator to a new phone without losing your verification codes in two ways: sign in to the same Google Account so synced codes appear automatically, or use the app’s Transfer accounts feature to export codes from the old phone and scan them on the new one. Keep the old phone until you have tested several logins.
The manual QR method works even if you do not want to sync Authenticator codes to a Google Account. If the old phone is already lost and the codes were not synced, you must recover each protected account using backup codes or that service’s recovery process.
Before you move Google Authenticator
Do not erase, trade in, reset, or uninstall anything from your old phone yet.
Prepare the following:
- Your old phone with Google Authenticator still working
- Your new Android phone or iPhone
- The latest Google Authenticator app on both devices
- Access to your Google Account if you use code synchronization
- Backup codes or another sign-in method for important accounts
- A private place where nobody can see or photograph the transfer QR code
Authenticator codes are time-based secrets. Anyone who captures the transfer QR code may be able to generate the same one-time codes, so treat the QR screen like a password.
Google’s current Authenticator instructions document both account sync and manual QR transfer.
Method 1: Transfer codes by signing in to your Google Account
This is normally the easiest option if your Authenticator codes were saved to a Google Account.
On the old phone
- Open Google Authenticator.
- Look at the profile icon in the upper-right corner.
- Confirm that you are signed in to the Google Account you intend to use.
- Check that the accounts and codes you need are visible.
- Leave the app installed until the new phone is fully tested.
If the app shows a cloud or account-sync status, make sure it is not reporting a synchronization problem.
On the new phone
- Install Google Authenticator from Google Play or Apple’s App Store.
- Open it and tap Get Started.
- Sign in with the same Google Account used in Authenticator on the old phone.
- Allow the app to save or sync codes when prompted.
- Wait for the account list to appear.
- Compare the names and number of entries with the old phone.
Do not assume the transfer is complete because one code appears. Some people use several Google Accounts inside Authenticator, while other codes may have been stored without account sync.
Google says Authenticator can sync codes for multiple Google Accounts. Use the profile menu to switch accounts and confirm that nothing is missing.
Method 2: Transfer Google Authenticator with a QR code
Use this method if you prefer not to sync codes, if some entries are missing after sign-in, or if you are moving codes between two devices manually.
Export from the old phone
- Open Google Authenticator.
- Tap the menu button.
- Select Transfer accounts.
- Tap Export accounts.
- Unlock the phone when asked.
- Select the accounts you want to move.
- Tap Next.
The old phone will display a QR code. If you selected many accounts, Google Authenticator may create more than one QR code.
Keep that screen private. Do not take a screenshot, save the QR code to cloud storage, or send it through email or a messaging app.
Import on the new phone
- Open Google Authenticator on the new phone.
- Tap Get Started if this is the first launch.
- Open the menu and choose Transfer accounts.
- Tap Import accounts.
- Choose Scan QR code.
- Scan the QR code shown on the old phone.
- Repeat for every additional QR code.
Google says the app displays a confirmation after the codes have been transferred.
Does manual transfer work from Android to iPhone?
The QR transfer takes place inside Google Authenticator, so it can be used when moving from Android to iPhone, iPhone to Android, or between phones using the same operating system.
The menu layout can differ slightly by app version. Update both copies of Authenticator if Transfer accounts is missing.
Test the transfer before erasing the old phone
The safest verification is to sign in to several important services using codes from the new phone.
Start with:
- Your primary email account
- Password manager
- Banking or payment services
- Cloud storage
- Work accounts
- Domain registrar or website hosting
- Social media accounts
For each service:
- Open its official website or app.
- Sign in with your normal username and password.
- Enter the six-digit code shown on the new phone.
- Confirm that the login succeeds.
- Check that you also have a recovery method.
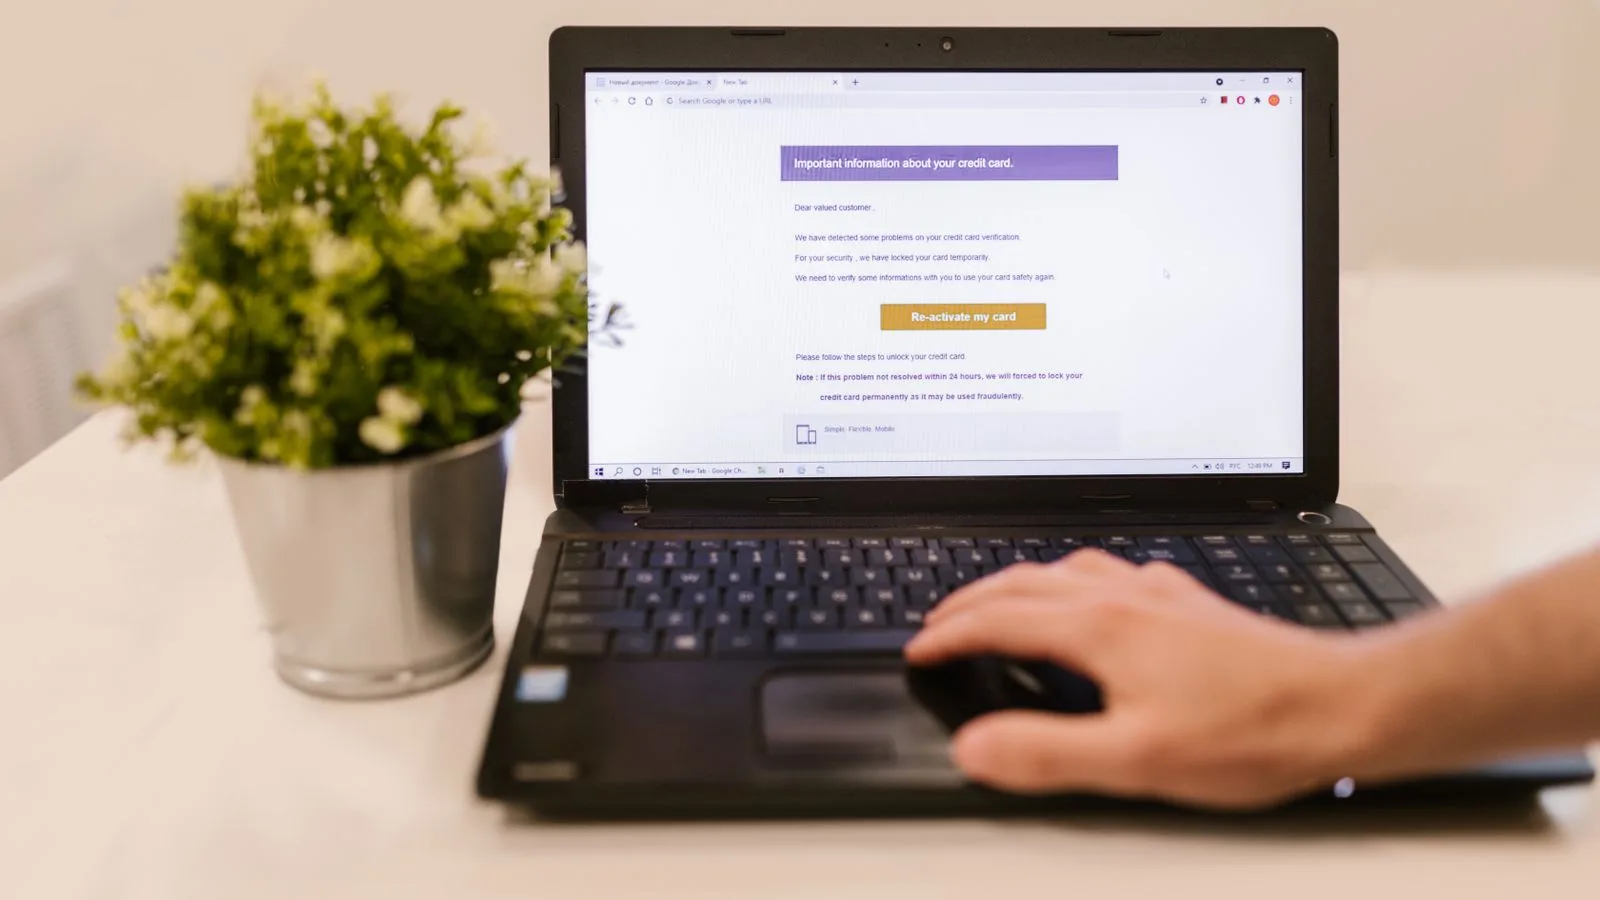
Avoid testing through links received by email or text. Open the service directly so you do not give a valid one-time code to a phishing page.
Browser add-ons can also read more data than expected, so review our guide on how to check whether a browser extension is safe before installing it.
Why does the new Authenticator code not work?
A code can appear correctly but still be rejected. Work through these checks before resetting two-factor authentication.
Set the correct date and time
Time-based one-time passwords depend on the phone’s clock.
Turn on automatic date, time, and time zone in the device settings. Then close and reopen Google Authenticator and try the newest code.
Do not reuse a code that is about to expire. Wait for the next one and enter it promptly.
Confirm you selected the right account
Several entries may use similar labels, especially when the same email address is connected to multiple services or environments.
Match both the service name and username. Rename confusing entries after the transfer if necessary.
Look for duplicate entries
Importing codes more than once can produce duplicates. One entry may be older if the service’s two-factor authentication was later reset.
Test carefully before deleting anything. Keep the entry that produces a valid login and remove the obsolete duplicate only after confirmation.
Check whether the service changed its 2FA setup
If you disabled and re-enabled two-factor authentication on a website, the original secret is no longer valid. You need to scan the latest setup QR code from that service’s security settings.
What if the old phone is lost, broken, or already erased?
First, install Google Authenticator on the new phone and sign in to the Google Account you previously used inside the app. If the codes were synchronized, they may reappear.
If they do not appear, the app cannot recreate unsynced secrets by knowing only your username or phone number. Recovery must happen separately for each protected service.
Try these options in order:
- Use a saved backup code.
- Approve the login from another trusted device.
- Use a registered security key or passkey.
- Choose the service’s alternative email or phone verification.
- Start the official account-recovery process.
- Contact your work administrator for managed business accounts.
Google’s 2-Step Verification troubleshooting page explains recovery options for a Google Account when a phone is lost.
Never pay an unknown person who claims they can regenerate Authenticator codes. A legitimate recovery process verifies ownership through the service that protects the account.
How to prepare before your next phone change
A successful transfer is a good time to improve your recovery setup.
Save backup codes securely
Generate backup codes for critical accounts and store them somewhere separate from the phone. A password manager with a protected emergency-access plan, an encrypted document, or a locked physical copy can work.
Do not keep the only copy as a screenshot on the same phone.
Add more than one recovery method
Where supported, register a second security key, passkey, trusted device, or recovery email. A phone number can be useful, but it should not be your only fallback.
Google explains that 2-Step Verification may use a password plus a second step or a passkey, depending on the sign-in situation.
Review old devices
After the new phone has worked for several days:
- Remove the old device from relevant account security pages
- Sign out of accounts on the old phone
- Delete Authenticator codes from a device you will no longer control
- Factory-reset the old phone before selling or recycling it
- Revoke any sessions you do not recognize
If you perform the setup on a shared or public network, check our guide on how to tell if public Wi-Fi is safe before connecting.
Turn on the Authenticator privacy screen
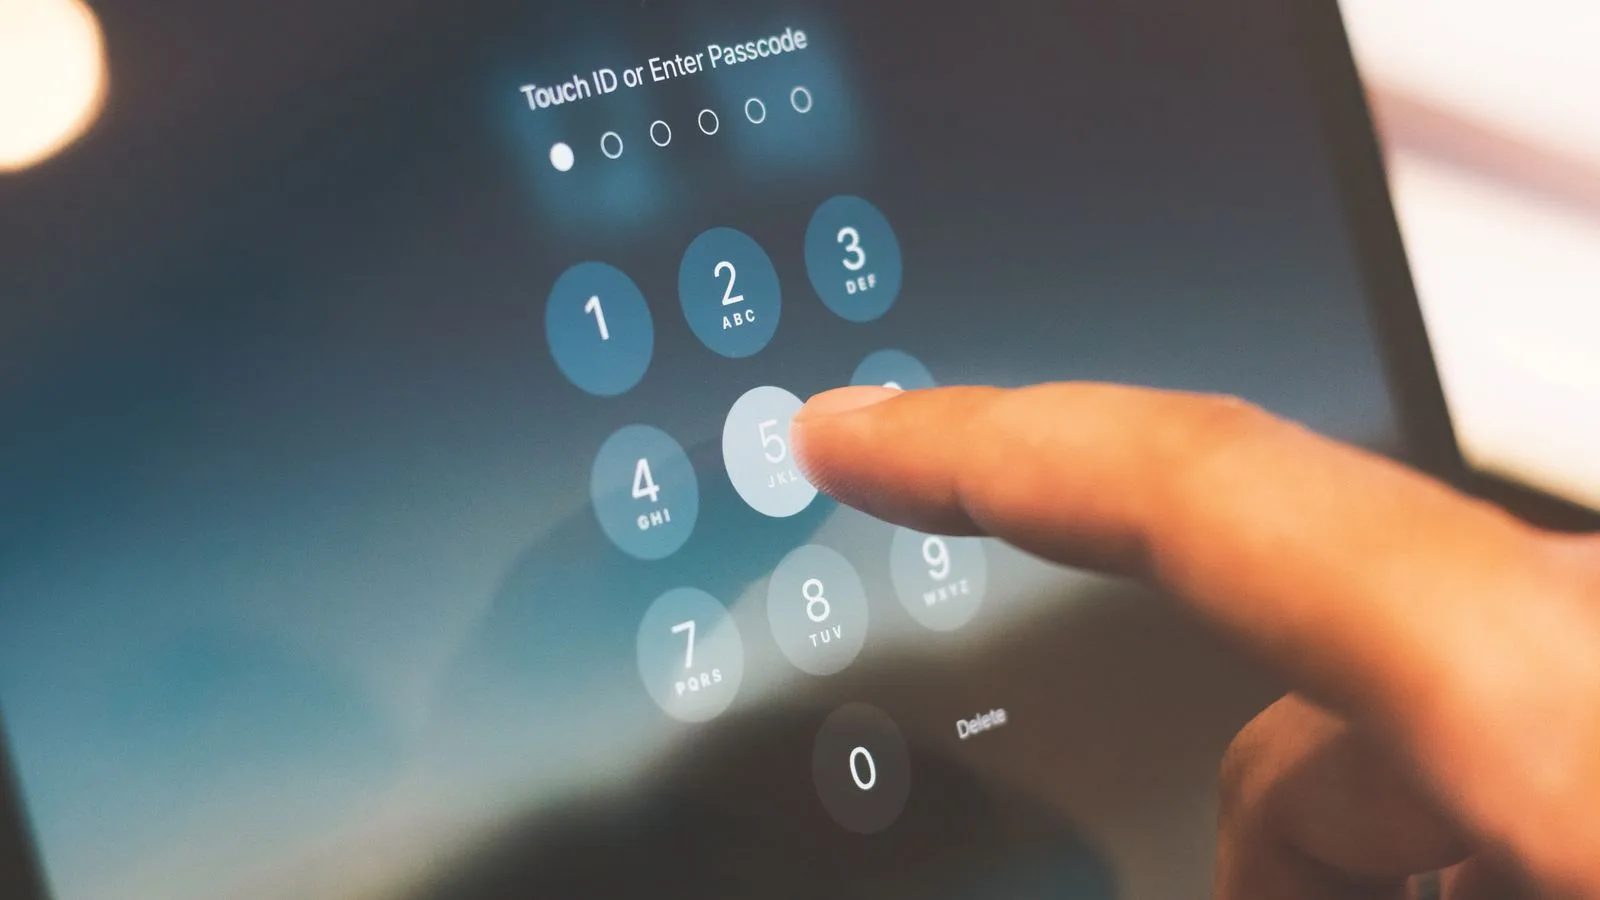
On supported iPhones and iPads, Google Authenticator offers a Privacy Screen setting that requires Face ID or Touch ID before the app opens.
In Authenticator, open Menu → Settings → Privacy Screen, enable it, and complete the biometric check. Menu wording may vary slightly by version.
Also protect the phone itself with a strong PIN and biometric lock.
Should you delete codes from the old phone immediately?
No. Keep the old Authenticator setup until you have verified all important accounts on the new phone and confirmed your recovery methods.
Once you are confident the transfer is complete, remove the codes from any phone you are giving away. If codes are synchronized to your Google Account, Google warns that deleting a synced Authenticator code can also delete it from other devices where those codes are synced. Check the sync state before removing individual entries.
Factory-resetting a phone you still own is different from deleting a synced code inside Authenticator. Complete your verification checklist first.
Quick transfer checklist
Before considering the move finished, confirm that:
- Google Authenticator is installed from the official app store
- All expected accounts appear on the new phone
- Every transfer QR code was scanned
- The phone uses automatic date and time
- Codes work for several critical services
- Backup codes are stored safely
- A second recovery method exists
- The old phone has not been erased too early
- Old sessions and devices will be removed when testing is complete
The key rule is simple: transfer first, test second, and erase the old phone last.