How to Connect Buffer to ChatGPT With MCP and Schedule Posts Safely
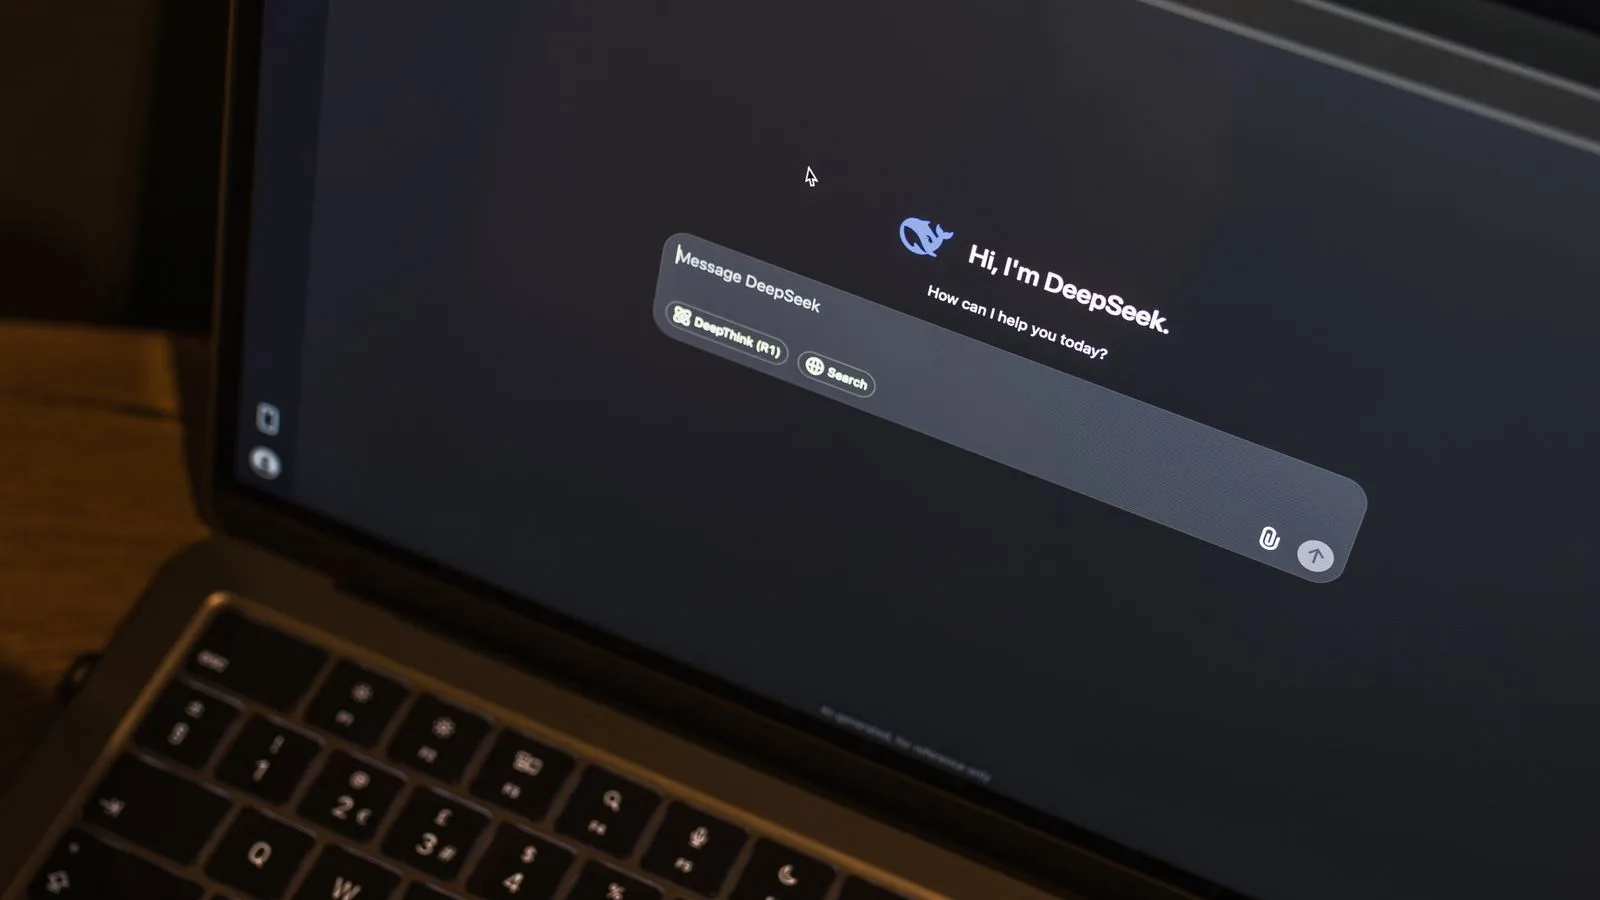
To connect Buffer to ChatGPT, enable Developer mode in ChatGPT, add a custom app named Buffer, enter https://mcp.buffer.com/mcp as the MCP server URL, and choose OAuth authentication. Approve the Buffer sign-in window, then test the connection by asking ChatGPT to list your channels or create a draft. Buffer's official ChatGPT integration uses OAuth, so you should not paste an API key into the conversation.
Once connected, ChatGPT can help inspect your Buffer channels, review drafts and queues, schedule or edit posts, capture ideas, and retrieve post analytics. Start with read-only or draft actions until you are confident that the correct organization, channel, time zone, and publishing time are being used.
What you need before connecting Buffer to ChatGPT
- An active Buffer account with the social channels you want to manage already connected.
- Access to ChatGPT's Apps or Connectors settings and Developer mode.
- Permission to authorize Buffer for the ChatGPT account or workspace you are using.
- A clear rule for whether the assistant may create drafts only or also schedule and publish posts.
Buffer published its dedicated ChatGPT integration guide on its developer site. The company says the web connection uses OAuth and requires no API key.
How to connect Buffer to ChatGPT with MCP
1. Open ChatGPT settings
Sign in to ChatGPT on the web, open Settings, and locate the Apps or Connectors section. Under advanced settings, enable Developer mode.
If Developer mode is unavailable, do not create a fake integration or paste Buffer credentials into a normal chat. Availability can depend on the ChatGPT account or workspace configuration. Use Buffer directly until the setting is available to you.
2. Add Buffer as a new app
Choose the option to add a new app or custom connector, then enter the following details exactly:
- Name: Buffer
- MCP server URL:
https://mcp.buffer.com/mcp - Authentication: OAuth
Check the domain carefully. The official remote server is hosted at mcp.buffer.com. Do not authorize a lookalike domain sent through an email, direct message, ad, or unofficial tutorial.
3. Create the connection and approve Buffer access
Click Create. A Buffer sign-in window may open if you are not already logged in. Sign in on Buffer's own domain, review the requested access, and approve the connection.
OAuth lets you authorize the app without copying your Buffer password or a personal API key into ChatGPT. If any page asks you to paste a password or secret into the conversation, stop and verify that you followed Buffer's official setup link.
4. Test with a read-only request
Before creating content, ask:
List my Buffer organizations and connected channels. Do not create or change anything.
If you have more than one organization, confirm the correct one. Then check that each returned channel name and platform matches what you see in Buffer.
5. Create a draft, not a live post
Your first write test should be reversible:
Create a draft in Buffer for my X channel that says: “We just published our September product update.” Do not schedule or publish it.
Open Buffer and verify that the draft appears on the intended channel. Check its wording, media, link preview and organization before allowing more valuable actions.
What can ChatGPT do through Buffer MCP?
According to Buffer's MCP documentation, the remote server can expose tools that let an assistant:
- Read the signed-in Buffer account and organizations.
- List connected social channels and inspect their posting schedules.
- Browse drafts, scheduled posts, sent posts and publishing errors.
- Create, edit or delete posts.
- Capture and organize content ideas.
- Retrieve post-level analytics when the connection has appropriate access.
This is different from Buffer's built-in AI writing assistant. The MCP connection lets ChatGPT work with actual Buffer records and actions, while an ordinary chatbot response only produces text for you to copy manually.
If you want a dashboard-first workflow instead, follow our guide to scheduling social media posts directly with Buffer.
Useful prompts for managing Buffer from ChatGPT
Review this week's queue
Show all Buffer posts scheduled this week, grouped by channel and day. Flag duplicate links or two posts scheduled less than two hours apart. Do not edit anything.
Turn one announcement into platform-specific drafts
Create draft versions of this announcement for LinkedIn, X and Facebook. Keep the facts unchanged, adapt the length and tone to each platform, and do not schedule or publish.
Fill an empty day without changing existing posts
Find the next day with no scheduled posts for my LinkedIn channel. Suggest one educational post based only on the notes I provide. Create it as a draft after showing me the proposed text.
Check publishing errors
List Buffer posts with an error status from the last seven days. Explain the error returned for each post, but do not retry or delete anything.
Review performance before drafting
Find my five highest-engagement sent posts from the last 30 days. Summarize the recurring topics and formats, then propose three new ideas without copying the old posts.
Analytics should guide decisions rather than become invented claims. Before publishing a performance-based statement, use our checklist for fact-checking AI answers and citations.
How to schedule a post safely
After drafts work correctly, give the assistant an exact channel, date, time, and time zone. For example:
Schedule the approved draft for the AllYourTech LinkedIn channel on September 12, 2026 at 10:30 a.m. Europe/London time. Show me the final text and timestamp before making the change.
Buffer's MCP tools use ISO 8601 timestamps with a UTC offset. Buffer can return the account time zone and current local time, which helps the assistant translate phrases such as “tomorrow at 5 p.m.” into an exact timestamp. Even so, explicit dates and time zones reduce mistakes around travel and daylight-saving changes.
For campaign links, add consistent UTM parameters before scheduling. Our guide to tracking social campaigns in GA4 with UTM parameters explains a naming structure that keeps reports readable.
Security rules for AI-assisted publishing
- Use the official OAuth flow. Do not paste your Buffer password into ChatGPT.
- Start read-only. Confirm organizations, channels and queues before requesting changes.
- Create drafts first. Review brand claims, links, mentions and media manually.
- Name the exact destination. “My Instagram” is ambiguous if you manage several profiles.
- Use exact timestamps. Include the date, time and IANA time zone.
- Require confirmation for destructive actions. Deleting or editing a scheduled campaign can affect multiple stakeholders.
- Review connected apps periodically. Remove the Buffer connection when it is no longer needed.
Do you need a Buffer API key?
Not for Buffer's documented ChatGPT web connection. The setup uses OAuth, and Buffer says no API key is needed.
Other MCP-compatible clients may use a bearer token instead. In that case, the generic setup requires the same server URL plus an Authorization: Bearer YOUR_API_KEY header. Generate a key only in Buffer's official API settings and grant the minimum permissions required.
Buffer's API-key guide says keys should be treated like passwords. Owners can choose permissions such as post read/write, idea read/write, account access and analytics access, as well as an expiration period.
Buffer MCP rate limits explained
MCP requests count toward Buffer API limits. Buffer applies rolling limits over 15-minute, 24-hour and 30-day windows, with quotas varying by plan. Connections do not create unlimited automation capacity.
If a request returns HTTP 429, stop and wait for the period shown in the Retry-After value. Repeatedly rephrasing and retrying the same request wastes time and may keep the workflow noisy. Buffer's official rate-limit guide recommends spacing scheduled jobs and minimizing unnecessary reads.
Why is Buffer missing from ChatGPT?
Work through these checks:
- Confirm Developer mode is enabled in ChatGPT settings.
- Verify the MCP URL is exactly
https://mcp.buffer.com/mcp. - Select OAuth rather than an API-key field for the documented ChatGPT connection.
- Allow the Buffer authorization window and disable popup blocking temporarily if it never appears.
- Sign in to the correct Buffer account and organization.
- Remove an incomplete connection and repeat the official setup once.
If connection succeeds but an action fails, ask ChatGPT to list available organizations and channels first. A missing channel may be disconnected inside Buffer, while a failed write may reflect access, plan or rate-limit restrictions.
How to connect Buffer to Codex CLI
Buffer also documents a command-line connection for Codex:
codex mcp add buffer --url https://mcp.buffer.com/mcp
The command opens a browser window for Buffer sign-in and authorization. Use it only on a device and terminal profile you trust, then test by listing channels before creating a post.
Bottom line
Connecting Buffer to ChatGPT through MCP can reduce repetitive social-media work, but the safest workflow is gradual: authorize with OAuth, inspect your channels, create a test draft, verify it in Buffer, and only then allow scheduling.
Keep final publishing decisions human-reviewed. An assistant can organize queues and adapt drafts quickly, but you remain responsible for the destination, timing, links and accuracy of every post.